.png?cb=8fcbd027f7eac228df146128cef7fd8e)
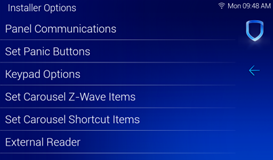
Installer Options
Installer Options is where keypad options, such as the keypad address, the default keypad message, and the network options, are programmed. To access the Keypad Installer Options menu, press Options in the Carousel menu. Select Installer Options, enter 3577 (INST), then press CMD.
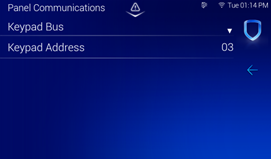

Panel Communications
Panel Communications is where you can select the communication method for your keypad and enter information referenced during the programming portion of the keypad setup process. Select one of the following options.
Keypad Bus
Select Keypad Bus to communicate using the keypad bus on the keypad. You can enter the Keypad Address here.
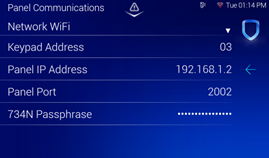
Network Wi-Fi
Select Network Wi-Fi to communicate using Wi-Fi, Ethernet, or POE. You can enter the Keypad Address, Panel IP Address, Panel Port, and 734N Passphrase here, as needed.
DMP Wireless
Select DMP Wireless to communicate using DMP 1100 Series Wireless.
Wireless Survey
Once in the final installation location, test to confirm that the keypad is communicating reliably with the receiver by selecting Start next to Wireless Survey. When this test is initiated, the keypad automatically tests the communication between itself and the receiver. If the wireless survey fails at any point, relocate the keypad.
To end the survey, select Stop. DMP recommends waiting for 8 of 8 to display before ending the survey.
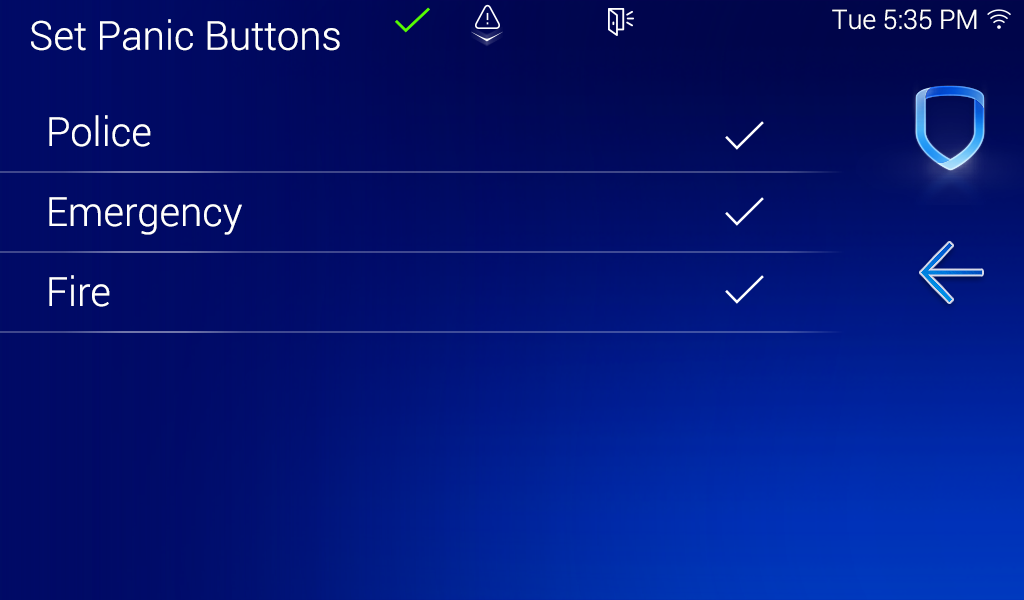
Set Panic Button
Use this option to enable or disable the panic keys. Select the panic buttons you would like to have displayed on the keypad. Once the panic option is enabled, a check mark displays next to the selected options. All options are disabled by default.
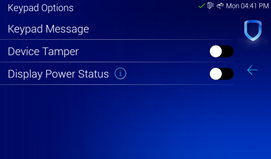
Keypad Options
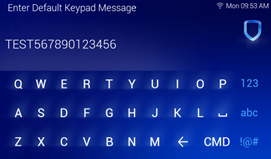
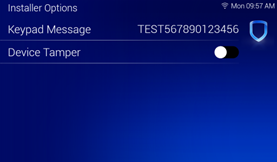
Select Keypad Message to enter a custom message of up to sixteen characters to appear at the top of the keypad display. Press any select area, enter a new message, and press CMD. If a message has been entered, it displays in the field until changed.
Use the Device Tamper toggle to enable or disable the tamper on the back of the keypad. It is recommended to disable this option if the keypad is mounted using the desk stand. Default is ON.
Use the Display Power Status toggle to enable or disable display the no-AC or no-Battery icon as needed. This option is enabled automatically when the keypad is powered with a battery.
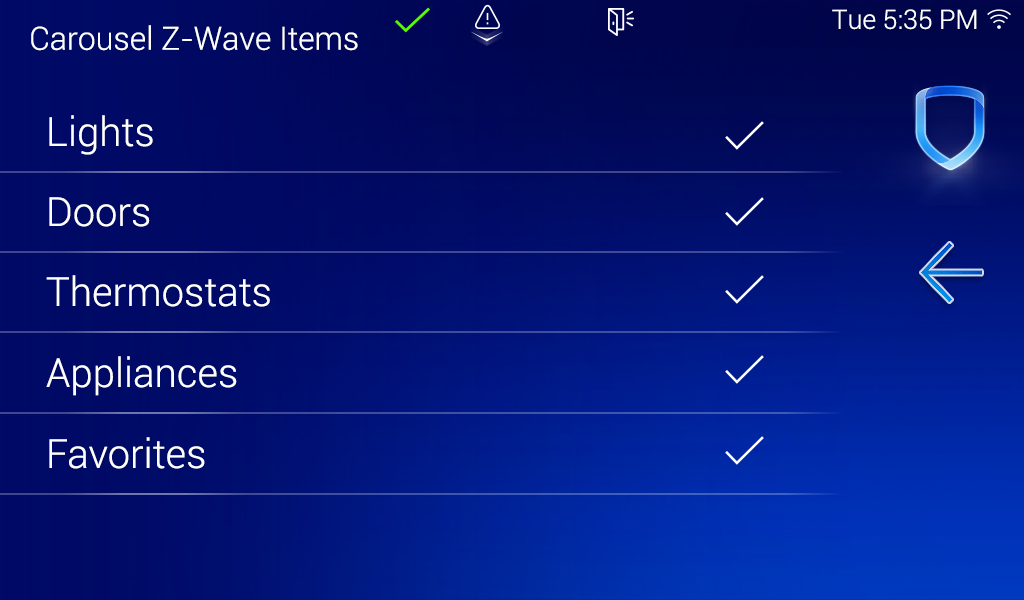
Set Carousel Z-Wave Items
Set Carousel Z-Wave Items allows you to select the Z-Wave options to display in the Carousel menu. Press an item to select and a check mark appears to indicate it is enabled. Press again to deselect that option. Items for the Carousel include Lights, Doors, Thermostats, Appliances, and Favorites. Press the back arrow to return to the previous screen. All items are disabled by default.
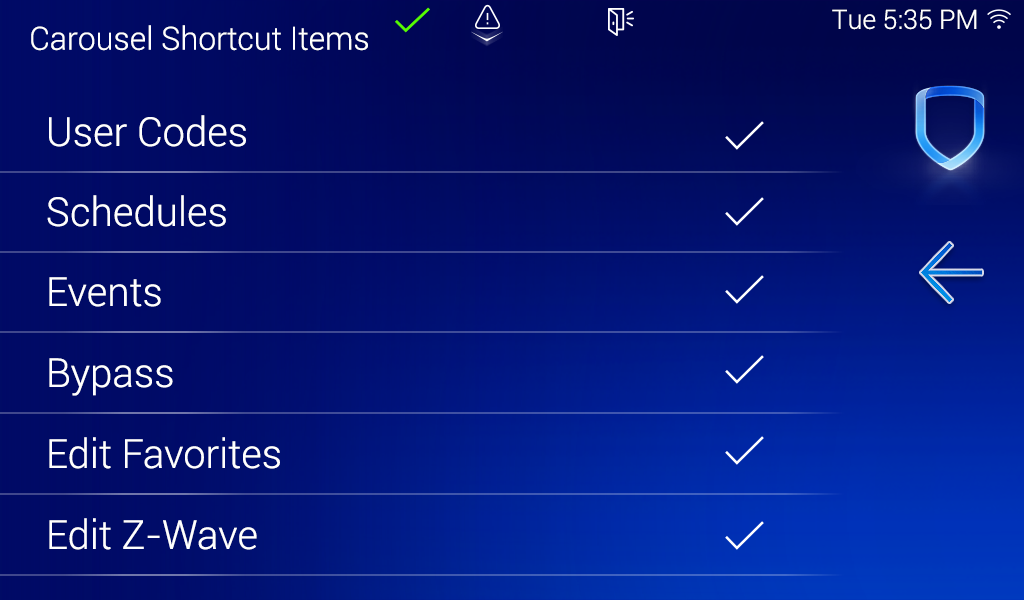
Set Carousel Shortcut Items
Set Carousel Shortcut Items allows you to select additional menu items to display in the Carousel menu. Press an item to select and a check mark appears to indicate it is enabled. Press again to deselect that option. Items for the Carousel include User Codes, Schedules, Events, and Bypass. All items are disabled by default.
Select Edit Favorites to display the Edit Z-Wave icon on the Favorites screen. Select Edit Z-Wave to display the Edit Z-Wave icon for the Lights, Doors, Thermostats, and Appliances screens.
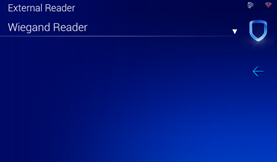
External Readers
Set the keypad to work with Wiegand or OSDP card readers.
Note: OSDP is not available for 8863 keypads connected using DMP Wireless.
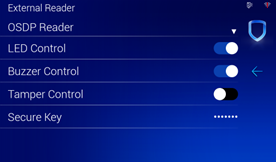
LED Control and Buzzer Control
Select LED Control and Buzzer Control to enable or disable each feature. Both features are enabled by default.
Tamper Control
Tamper Control for OSDP is not currently available.
ODSP Secure Key
The secure key is programmed into the OSDP reader and is used to establish 128-bit AES encrypted two-way communication between reader and keypad.
Enter a secure key up to 16 alphanumeric characters. These characters are visible until CMD is pressed.
Record this key and store it in a secure location away from the keypad and reader. After the reader is bonded to the keypad, the secure key cannot be changed in the reader or retrieved from programming. Replacement keypads can be bonded to any compatible keypad with the keypad secure key.
Caution: OSDP readers can only be programmed locally from the keypad. To properly bond the reader to the keypad, the keypad must be initialized, and the reader must be new or factory reset.
After programming is complete, the reader is bonded to the keypad and cannot be reprogrammed with a different secure key until it is factory reset by the manufacturer.
Note: This option is only valid if a secure key has not yet been entered. If a key has already been entered, you will not be able to change the secure key information
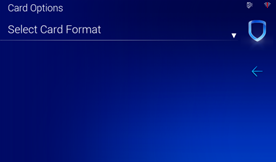

Card Options
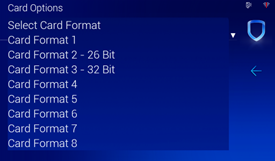
Use this option to select a card format. Select DMP Format to allow credentials that use a 26‑45 bit data string or Custom Format to disable DMP Format and program slots 1‑8 as needed.
If Custom Format is selected, use the Select Card Format dropdown to select a card format. Set Wiegand Code Length, Site Code Position, Site Code Length, User Code Position, User Code Length, and User Code Digits as needed. Press Require Site Code to enter up to 8 site codes.
DMP Format is the default.
See Compatible Devices and Formats for more information on compatible card formats.
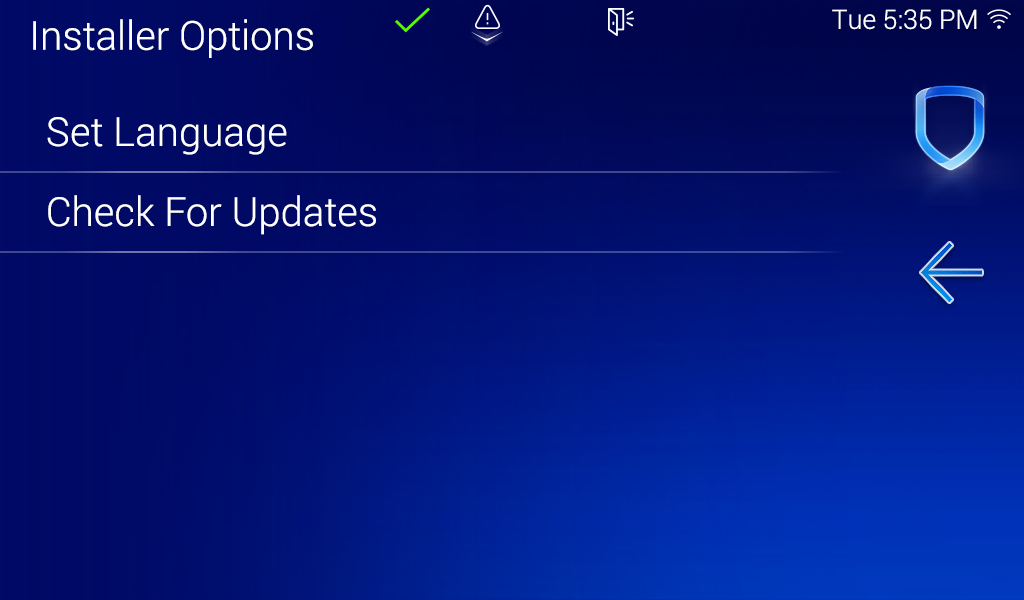
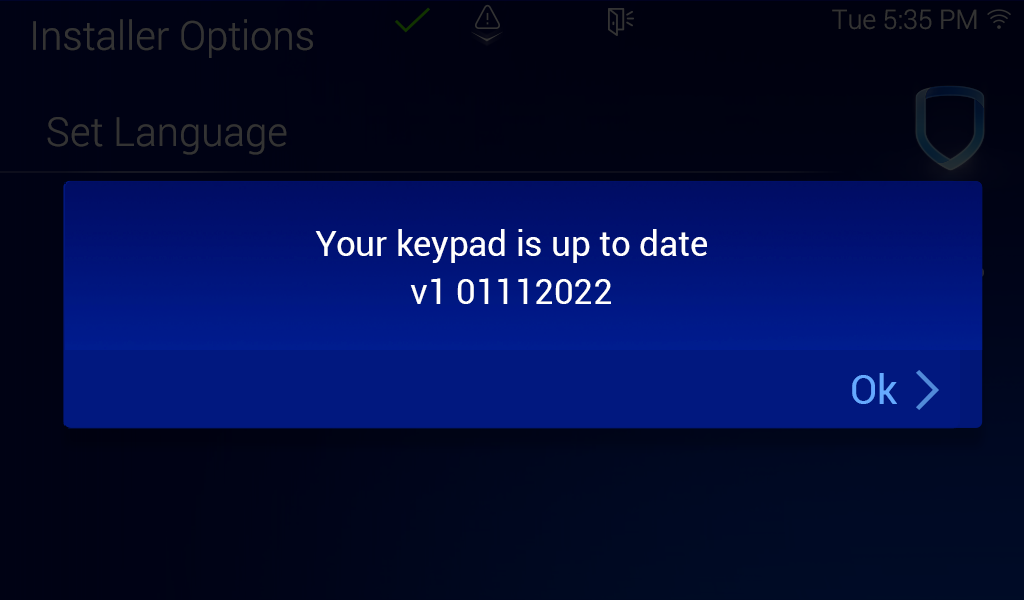
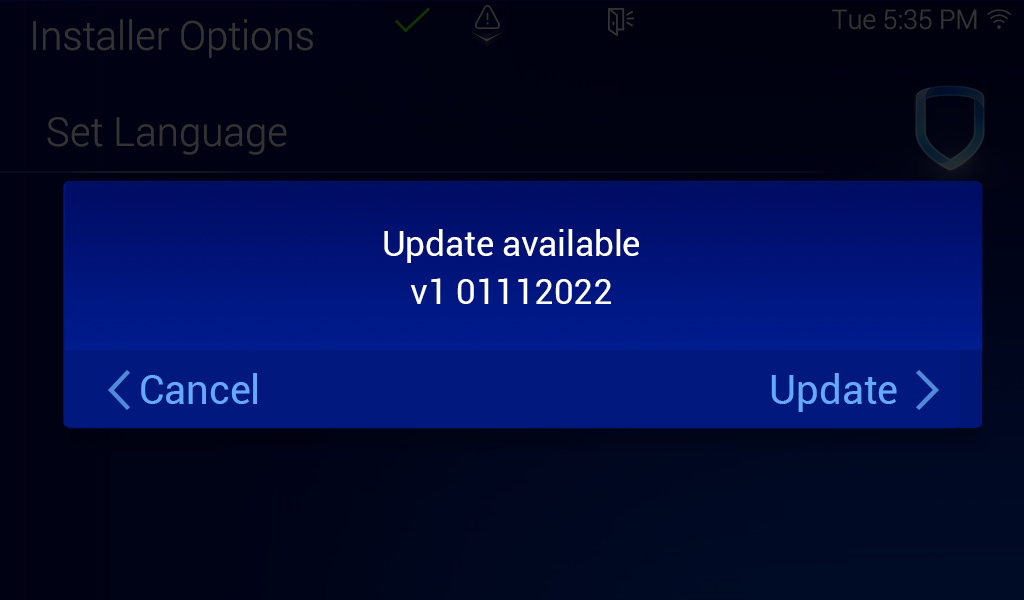
Check for Updates
All models of the 7-Inch Touchscreen Keypad have local and remote update capabilities. The keypad needs to be connected to Wi-Fi to perform a local and remote update. The remote update capabilities can be used for per device updates through Dealer Admin.