
This section contains instructions on how users can access the user menu, arm and disarm their system, see snapshot verification events, configure bluetooth disarming, and clean the keypad.
For more information about using your system, refer to the appropriate system user guide below.
Access the User Menu
-
In the Carousel menu, select Keypad.
-
Select CMD to advance to MENU? NO YES. Select YES.
-
Enter your user code, then select CMD.
-
Select CMD to advance through the menu items. To enter a menu, select any select area.
Arm and Disarm the System
All of the examples displayed assume that CLOSING CODE is YES in panel programming.
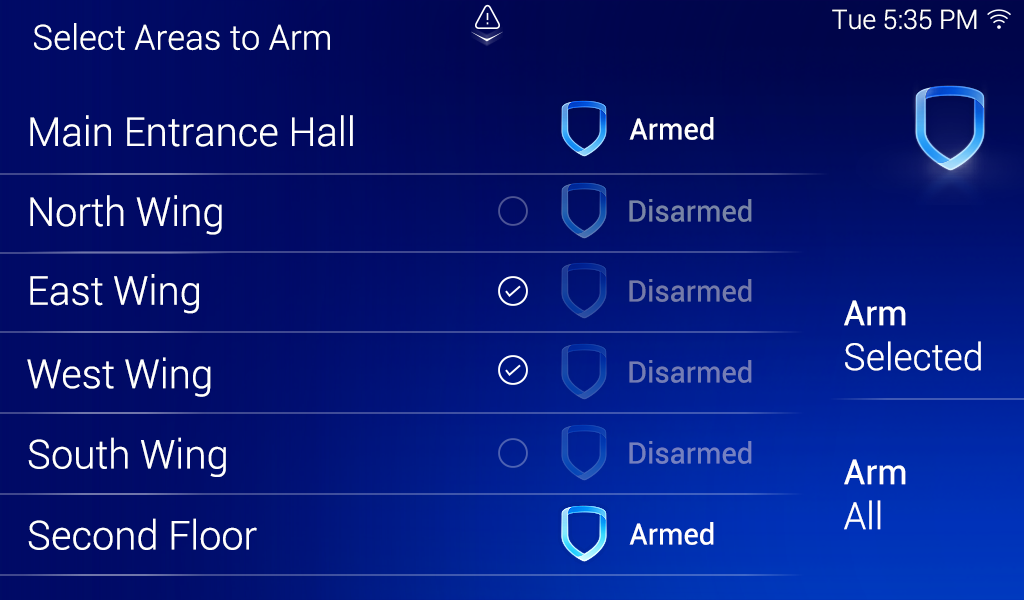
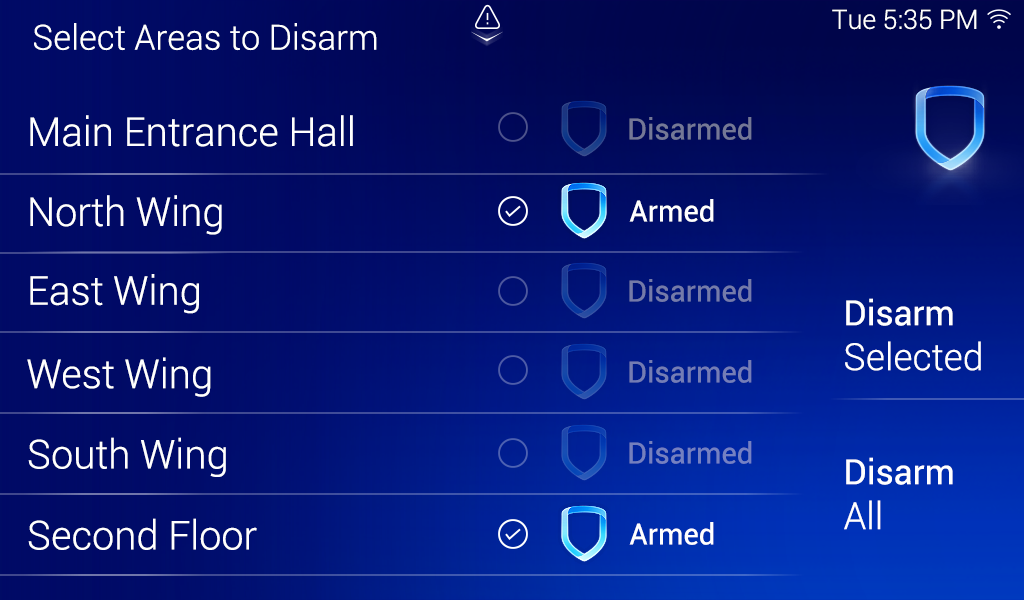
Area System Type
-
Press and release the shield to open the arming options screen. Select your preferred option.
-
If arming, the keypad displays ENTER CODE. Enter your user code. Select the area name and then select Arm Selected at the right of the screen. To arm all areas, select Arm All at the right of the screen.
-
If disarming, the keypad displays ENTER CODE. Enter your user code. Select the area name and then select Disarm Selected at the right of the screen. To disarm all areas, select Disarm All at the right of the screen.
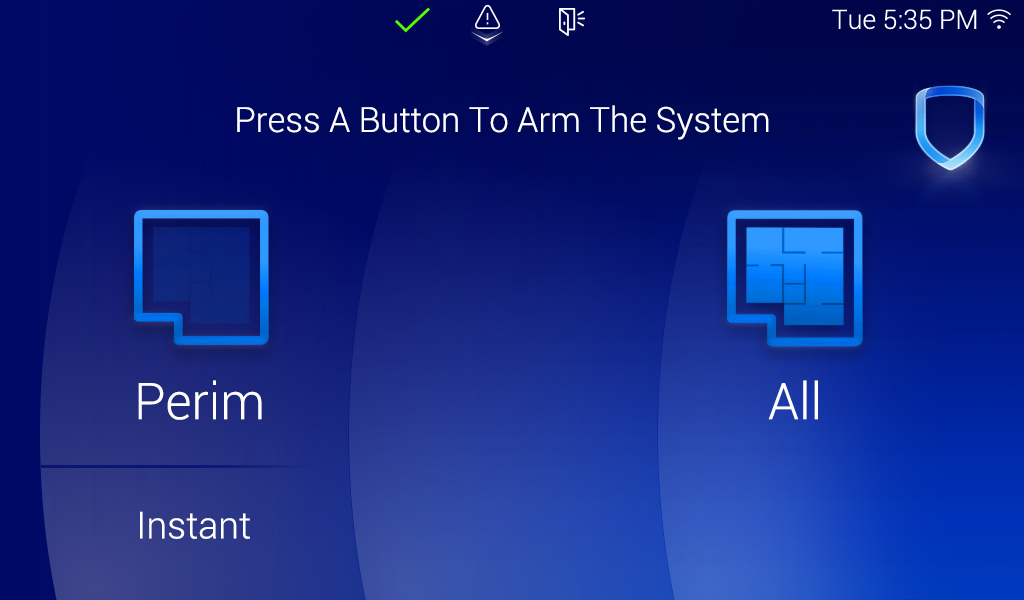
All/Perimeter System Type
-
Select the home screen shield in the center of the keypad.
-
If arming, select ALL to arm all areas or PERIM to arm only the perimeter. If ENTER CODE displays, enter a user code at the keypad.
-
If disarming, enter a user code at ENTER CODE.
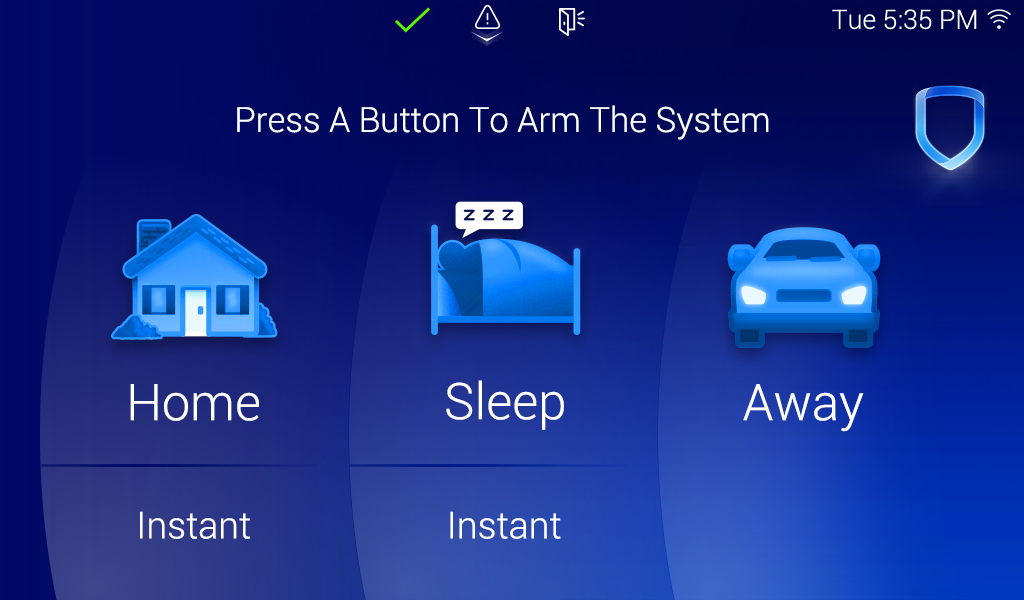
Home/Sleep/Away System Type
-
Select the home screen shield in the center of the keypad.
-
If arming, HOME SLEEP AWAY displays. Select HOME to arm the perimeter, select SLEEP to arm everything except the bedroom areas, or select AWAY to arm all areas.
-
If ENTER CODE displays, enter a user code at the keypad.
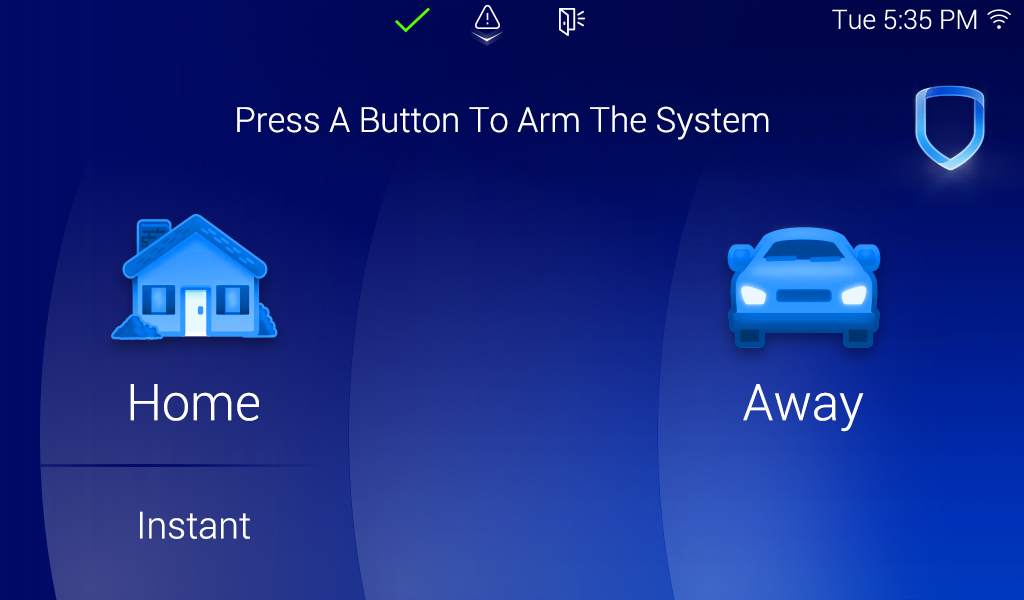
Home/Away System Type
-
Select the home screen shield in the center of the keypad.
-
If arming, HOME AWAY displays. Select HOME to arm the perimeter or select AWAY to arm all areas.
-
If ENTER CODE displays, enter a user code at the keypad.
Snapshot Verification Events
Each keypad includes a front-facing, onboard camera that captures a snapshot during arming and disarming events. You can view snapshot events in Events on the keypad or in Event History on Virtual Keypad.
-
In the Carousel menu, select Events.
-
Select an event to view it.
-
Swipe left to view the next event or swipe right to view the previous event. Select the Info icon to display the Event Information Banner.
-
Select the Filter icon to open the Filter Events menu.
-
In Filter By on the left side of the screen, select a category to filter events by Type, Camera, or Dates.
-
Select Apply to apply the selected filters to the Events List. A checkmark appears next to each applied filter.
-
After a filter is applied, a horizontally scrollable banner displays the active filters.
To remove all filters, select Clear at the bottom of the Filter Events menu.
To remove an individual filter, open the Filter Events menu and select the applied filter. The checkmark disappears when the filter is deselected.
.png?cb=4339a4534f5fa2e3ab0204658e9e62f6)
.png?cb=f96e7183b1347b0089638f4dd5801a70)
.png?cb=9bd1351101d64d7368767d206447b658)
Bluetooth Disarming
Note: 8863 keypads using DMP Wireless do not support Bluetooth Disarming.
A device can be paired to the keypad to automatically disarm the system via Bluetooth. When the user trips an exit zone, the entry delay initiates and the keypad begins scanning for Bluetooth devices. If the keypad discovers and connects to a paired device during the entry delay, the system disarms.
For All/Perimeter and Home/Sleep/Away systems, all areas need to be armed. For Area systems, all areas visible in a keypad’s Display Areas need to be armed for it to disarm.
For a user to disarm an Area system, they should either:
-
Have Standard or Master level authority or
-
Be assigned a profile that allows them to disarm all areas enabled in the keypad’s Display Areas.
This feature is a per keypad operation and up to six devices can be paired with each keypad. To disarm using a single device for multiple keypads, pair the device with each keypad individually.
Complete the following to pair a device with a keypad:
-
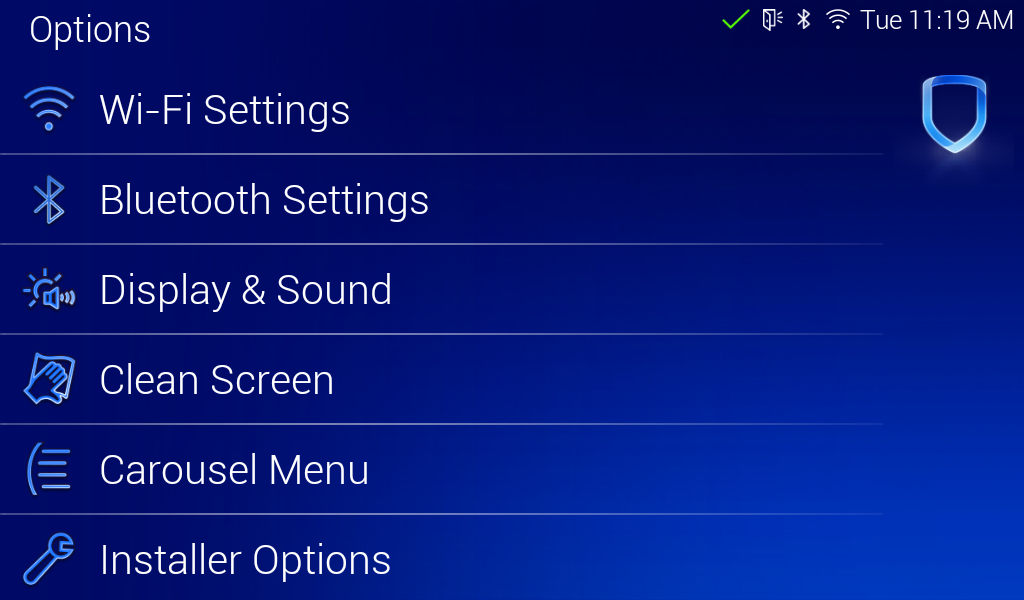
In Options, press Bluetooth Settings.
-
Enter your User Code. Only Master level user codes can access the Bluetooth Settings menu.
-
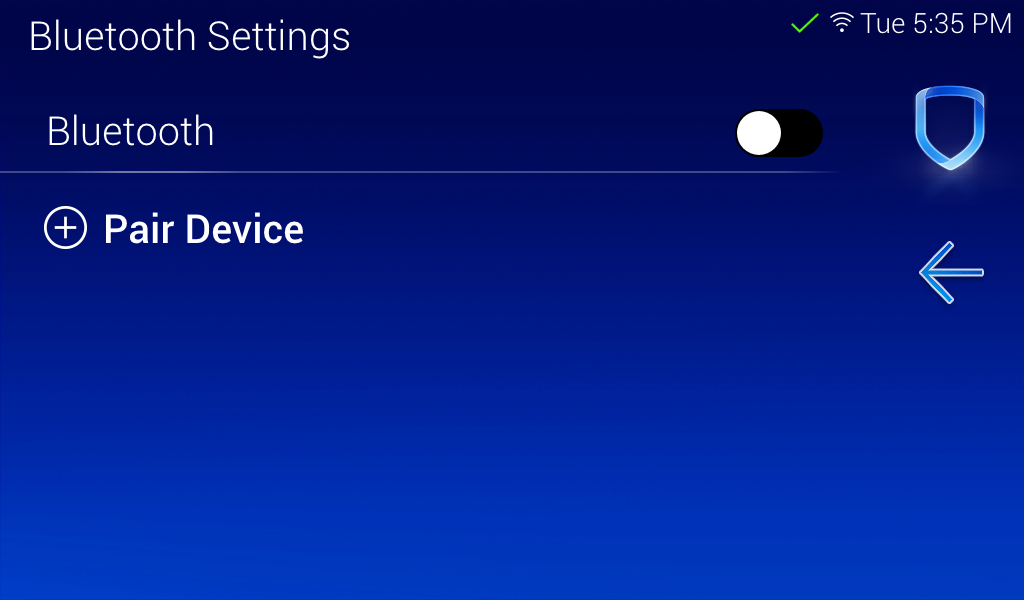
Press the Bluetooth toggle to enable the keypad’s Bluetooth capability.
-
Ready your device for pairing. It must be actively searching for other devices to pair properly.
-
Press + Pair Device.
-
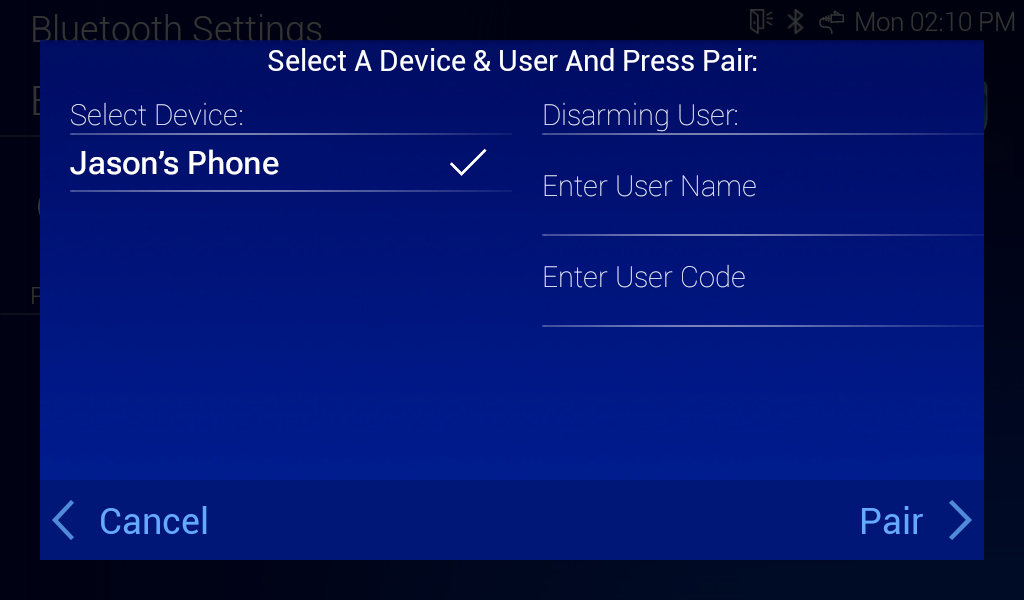
A Select A Device & User and Press Pair pop-up appears. To set the Disarming User, select a device from the list, then enter a User Name and User Code.
Note: Ensure the User Code is already programmed into the panel using Dealer Admin, Remote Link, Virtual Keypad, or the User Menu. The keypad does not validate the user code when pairing the device.
-
Press Pair in the bottom right corner.
-
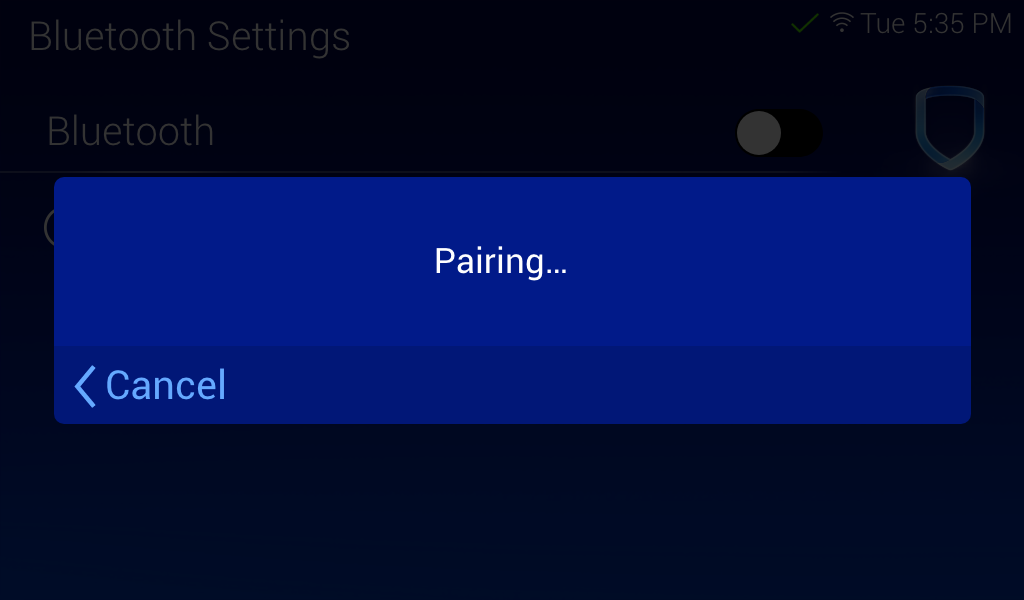
The keypad pop-up displays Pairing. This lasts for up to 20 seconds.
-
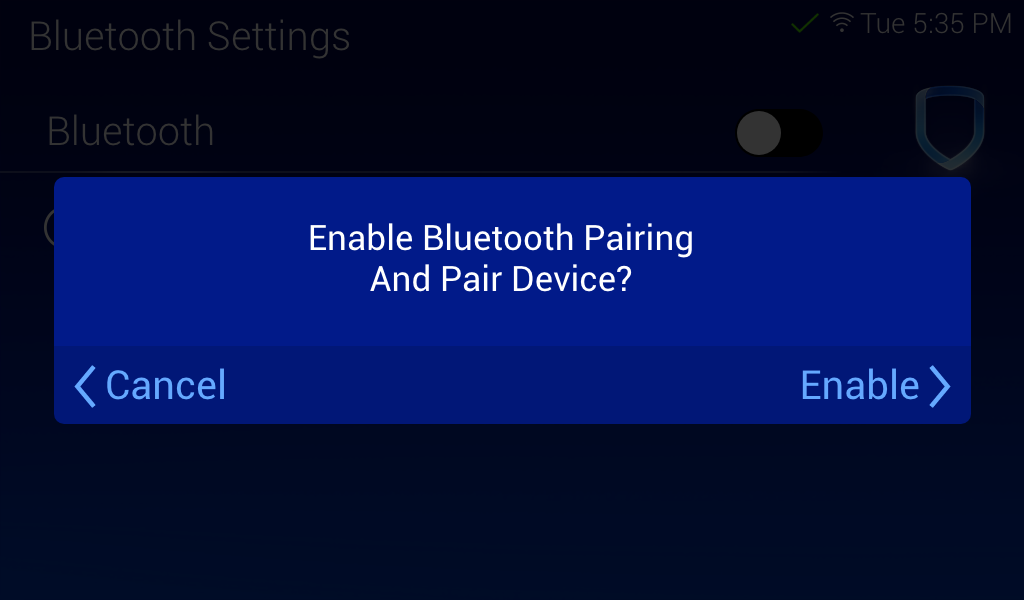
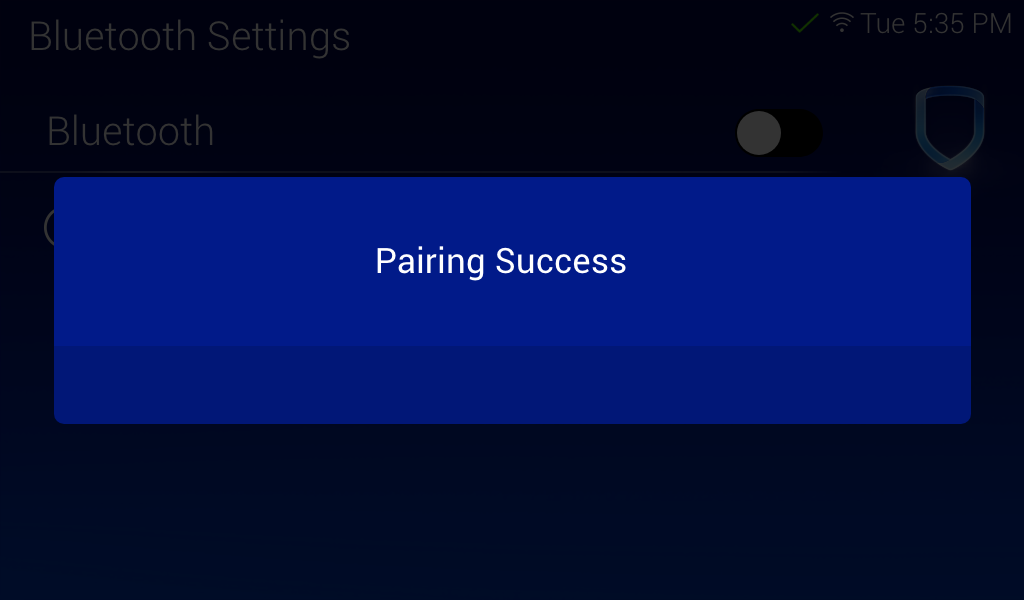
If devices were paired, the keypad displays Pairing Success. When the Enable Bluetooth Pairing and Pair Device pop-up displays, press Enable. This brings you back to the Bluetooth Settings menu. The name of the device is be listed under Paired Devices.
-
If devices were not paired, the keypad displays Pairing Failed. Press Retry to pair the devices again. Press Cancel to go back to the Bluetooth Settings menu.
-
-
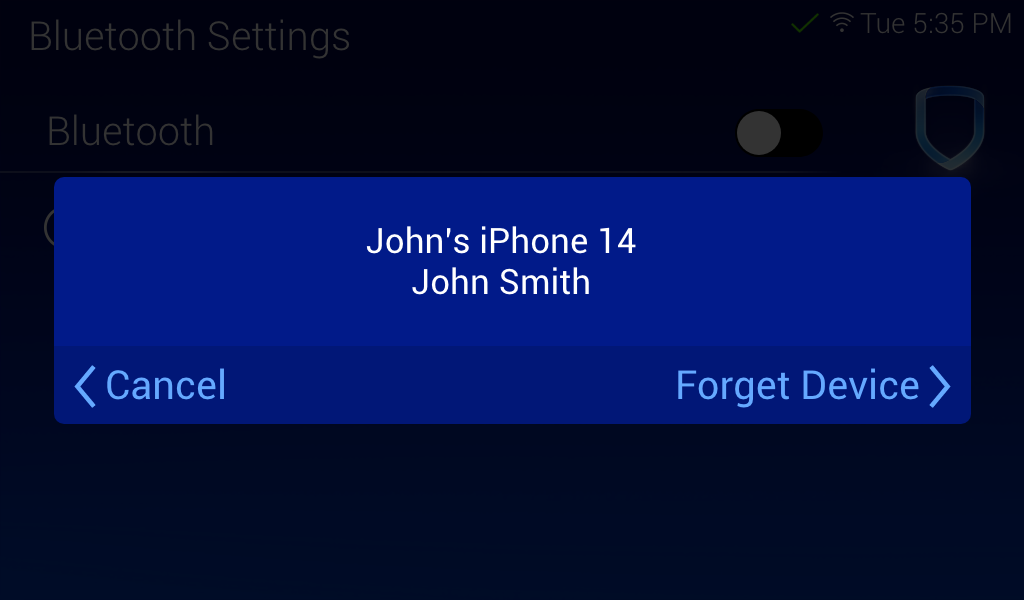
To unpair a device, press the Information icon next to the device name. The keypad displays Forget Device?. Press Forget to unpair the device from the keypad. Press Cancel to go back to the Bluetooth Settings menu.
Ineligible Phones
When arming and exiting the premises, to prevent accidental disarming by forgotten phones, the keypad completes a scan five minutes after the arming sequence to detect valid Bluetooth devices. Any valid phones found are flagged and made ineligible to disarm.
Clean the Keypad
Note: Failure to follow cleaning recommendations may result in equipment damage.
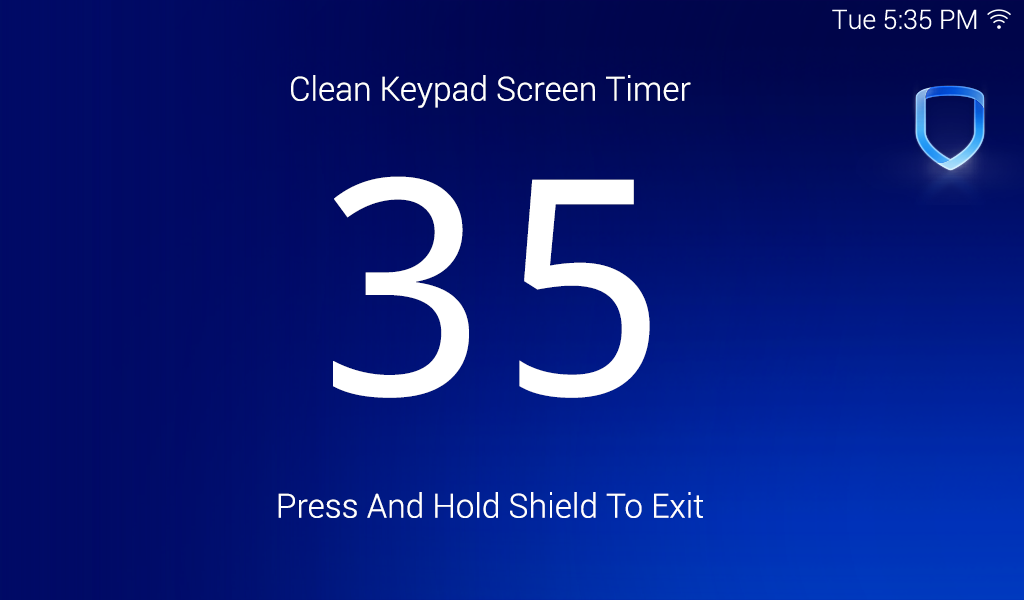
The Clean Screen option locks the screen for 40 seconds so you can clean it without accidentally pressing buttons. Use gentle pressure to clean the display, screen, keys, and housing. Use only alcohol sprays or wipes that contain 70% isopropyl alcohol to clean keypad surfaces. Avoid spraying cleaner directly onto the keypad, oversaturating cleaning cloths, or allowing cleaner to make contact with internal electronic components, cables, or power sources.
-
In the Carousel menu, select Options.
-
Select

-
Use an alcohol wipe or spray a small amount of rubbing alcohol onto a clean, dry microfiber cloth to gently wipe down all keypad touch surfaces, removing any excess cleaner.
-
Wait 10 seconds, then completely dry all keypad surfaces.
-
If necessary, use a clean, dry microfiber cloth to gently remove streaking.
After the countdown timer expires, the keypad returns to normal operation. To exit the countdown early, press and hold the